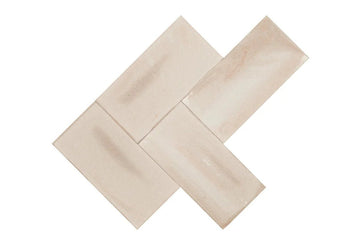
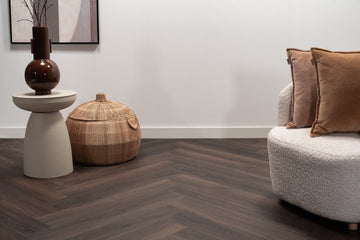
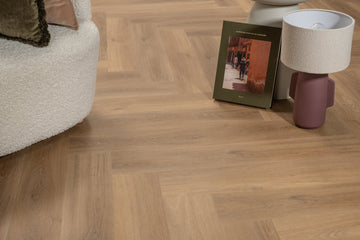
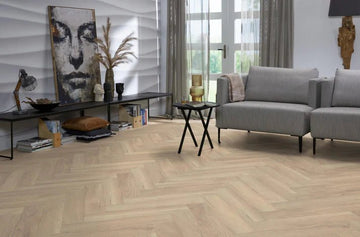
Of course it is not something you are waiting for, but it can really happen and sometimes happens to the best maintained floors; a fatal damage that cannot be repaired with a standard repair kit. In this case, it may happen that it is necessary to replace a complete laminate board. In this blog we will go deeper into which steps you need to go through to replace a laminate board. Whether this is for a herringbone laminate floor or a extra wide laminate floor. Very handy!

Laminate shelf replacement in 10 steps
To offer you as much clarity as possible for this job, we have divided the job into 10 clear steps. If you have any questions about replacing a laminate board, you can always contact one of our experts. We are happy to help everyone. This way everyone can neatly replace a laminate board. So nice!
1. Get the right tools for the job
Doing such a job without the right tools and the right tools in your hands will not only make the job more difficult, but also less good. So it is important to always have the right tools before you start this job. For the step-by-step plan for replacing the laminate board, you need the following items:
- Pencil for marking the damaged laminate board
- Tape for marking the damaged laminate board
- Stanleymes
- Invalzaag
- Chisel
- Hammer
- Trekijzer
- Stootblok
2. Apply a mark to the shelf
Now it is important to get a clear picture of which laminate board needs to be replaced. You do this by marking this shelf with the pencil and by tapping the shelf. This feels a bit like an obvious step, but starting to work on the wrong shelf would be an eternal waste.
3. Applying sawing line to the new shelf
Then stick the new laminate board to it. This shelf will take the place in the floor of the damaged plank. On the new board, draw a saw line on the click connection of the new board. Do this both at the top and at the bottom.
4. Remove groove from click connection
Why does the groove have to be removed with the new shelf? To ensure that you can easily attach the shelf with glue. Cut the groove of the horizontal side of the board.
5. Sawing lines on damaged plank
Time to focus again on the plank to be replaced in the laminate floor. Cut two lines along the length of the board on this. Do this as much as possible on the sides so that a groove forms close to the edges.

6. Notches sawed end shelf
Then it is important to cut some notches at the ends of the board, also called the end of the shelf. Our advice is to do this in corner structure. This will eventually ensure that you can pop the shelf out in no time.
7. Remove the damaged shelf
For this step, it is necessary to grab the chisel and hammer. Place the chisel in the grooves you made in previous steps and chop. Do this somewhat carefully because you do not want to damage the boards around it. If all goes well, the board will come off relatively easily because you have cut things loose in the previous step. Remove the entire plank and then make sure that the laying area in the laminate floor is clean and dust-free.
8. Verbindingslijm "to the rescue"
The new shelf that will serve as a replacement for the old laminate board will have to be glued to its new place. For this we recommend the use of special connecting glue. Within the Solza.nl range, we have the special Floer Bonding Adhesive D3 for this. You apply this glue to specific places, namely on one of the long sides where the laminate board should be placed and on the two short sides. Note: Apply the glue to the hole created by removing the broken board, not to the new shelf itself.
9. Installing and attaching a new shelf
Time to place and attach the new shelf in the right place. In the previous step you have not applied glue on one long side of the hole where the board must come, on this side you click the board with the non-sawn groove. After this, gently bring the board to its place with the bump block.
10. Applying kilos of weight
In order for the glue to grip well and keep the board in the right place, it is now necessary to apply weight to the new shelf. We advise you to apply at least 40 kilos of weight to this and to spread it well on the shelf. Then leave it like this for a few hours.
The differences between herringbone and whalebone in a video
Are you more into images and less into reading? That can and is no problem at all. Our friends from Floer have already made a handy video on this subject in which they explain all the differences. So easy!
See, experience and experience floors of Solza.nl? Which can!
Would you like to see, experience and experience your future floor before you make a purchase? That's possible at Solza.nl! In Alphen aan den Rijn we have put together a showroom for you where you can look at the possibilities and benefits of our various products to your heart's content. Try walking across the floor in our showroom to experience this or see how the floor you have in mind does with a certain light. In addition, in our showroom , there is always an expert present who can help you answer any questions and who is happy to provide you with useful advice. This way you can be sure of your purchase. So nice!


