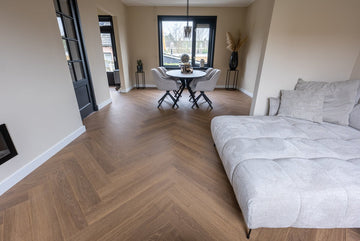
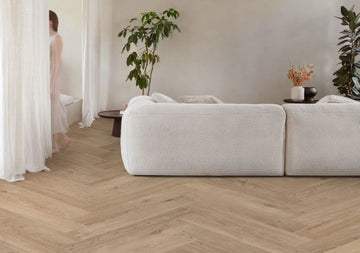
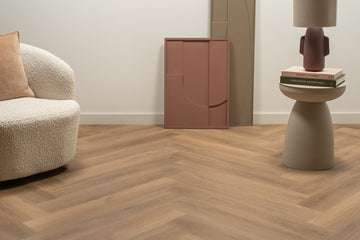
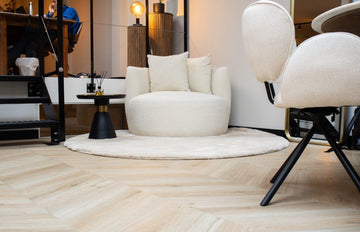
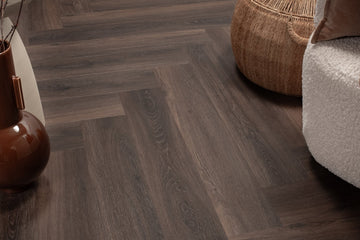
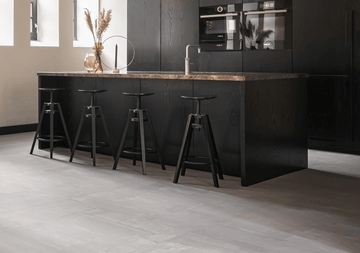
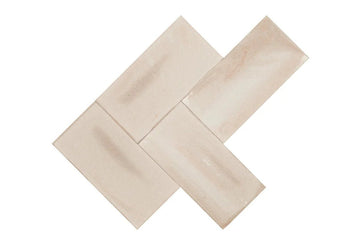
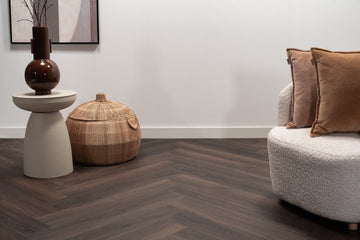
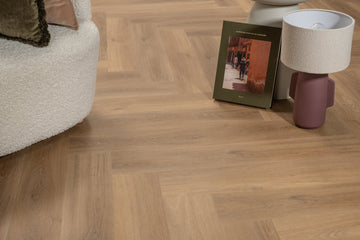
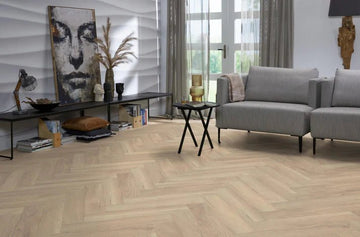
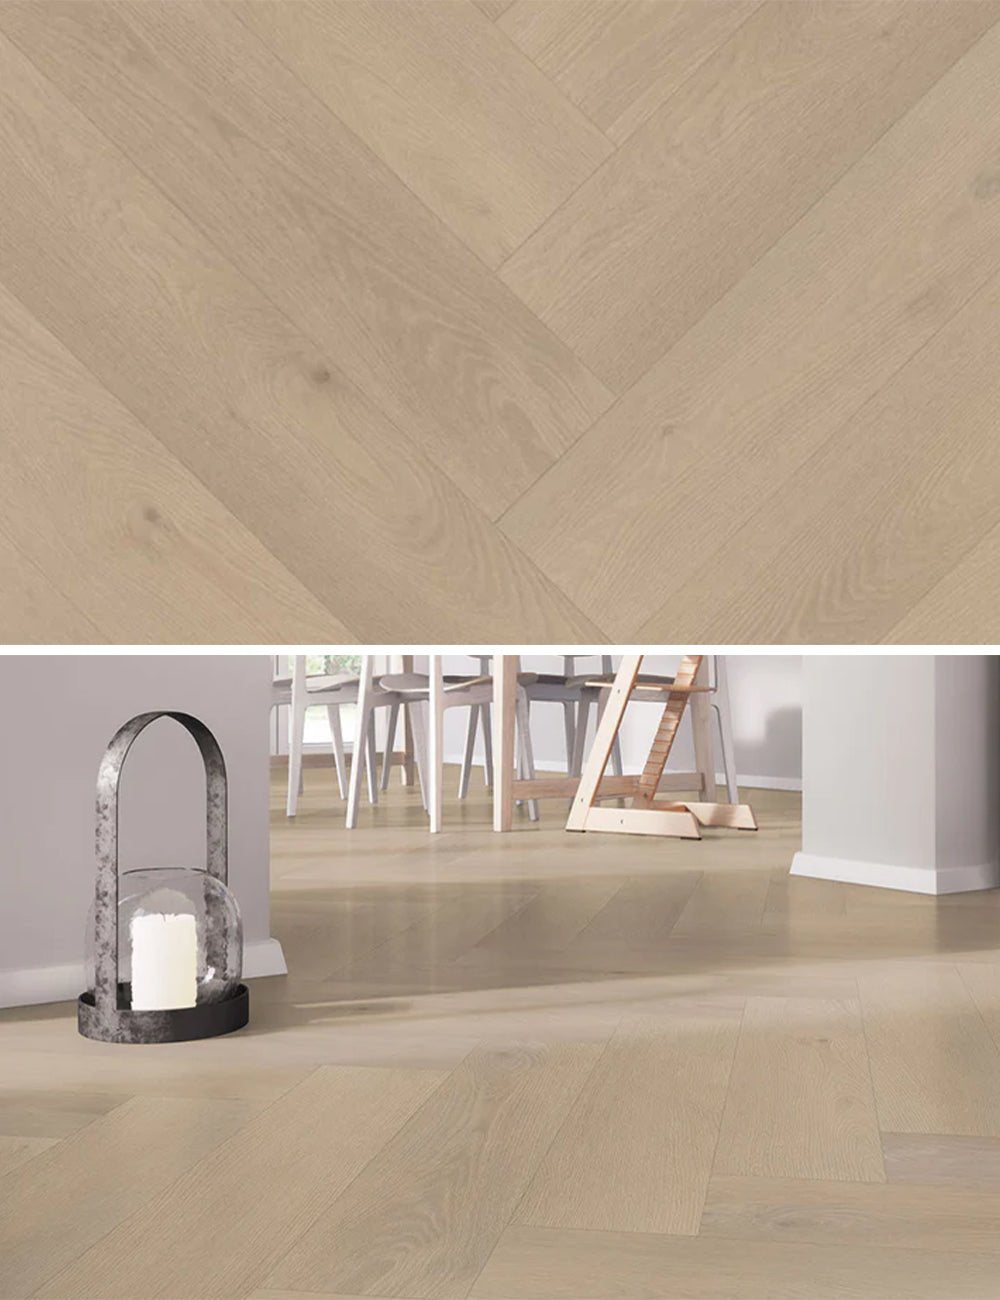
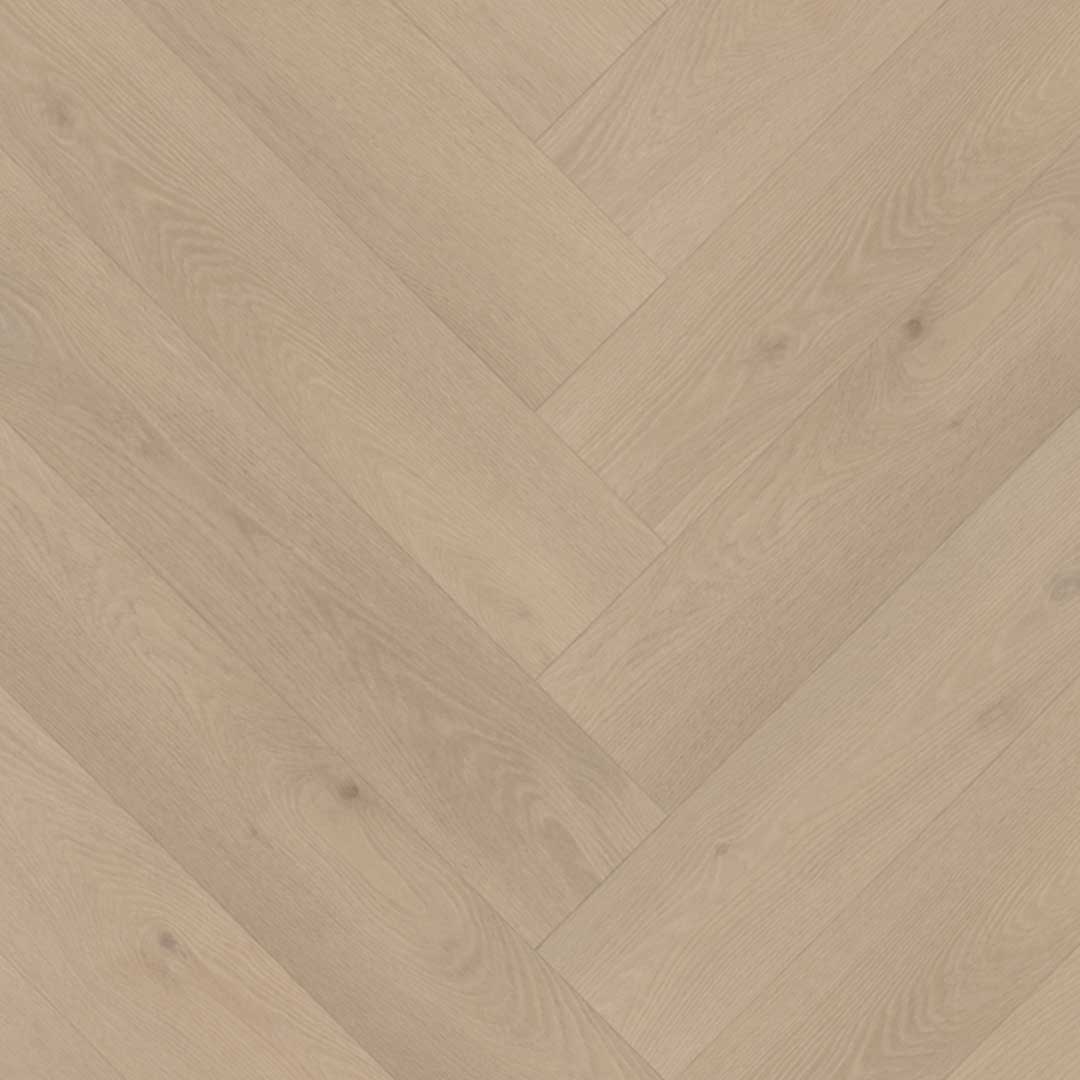
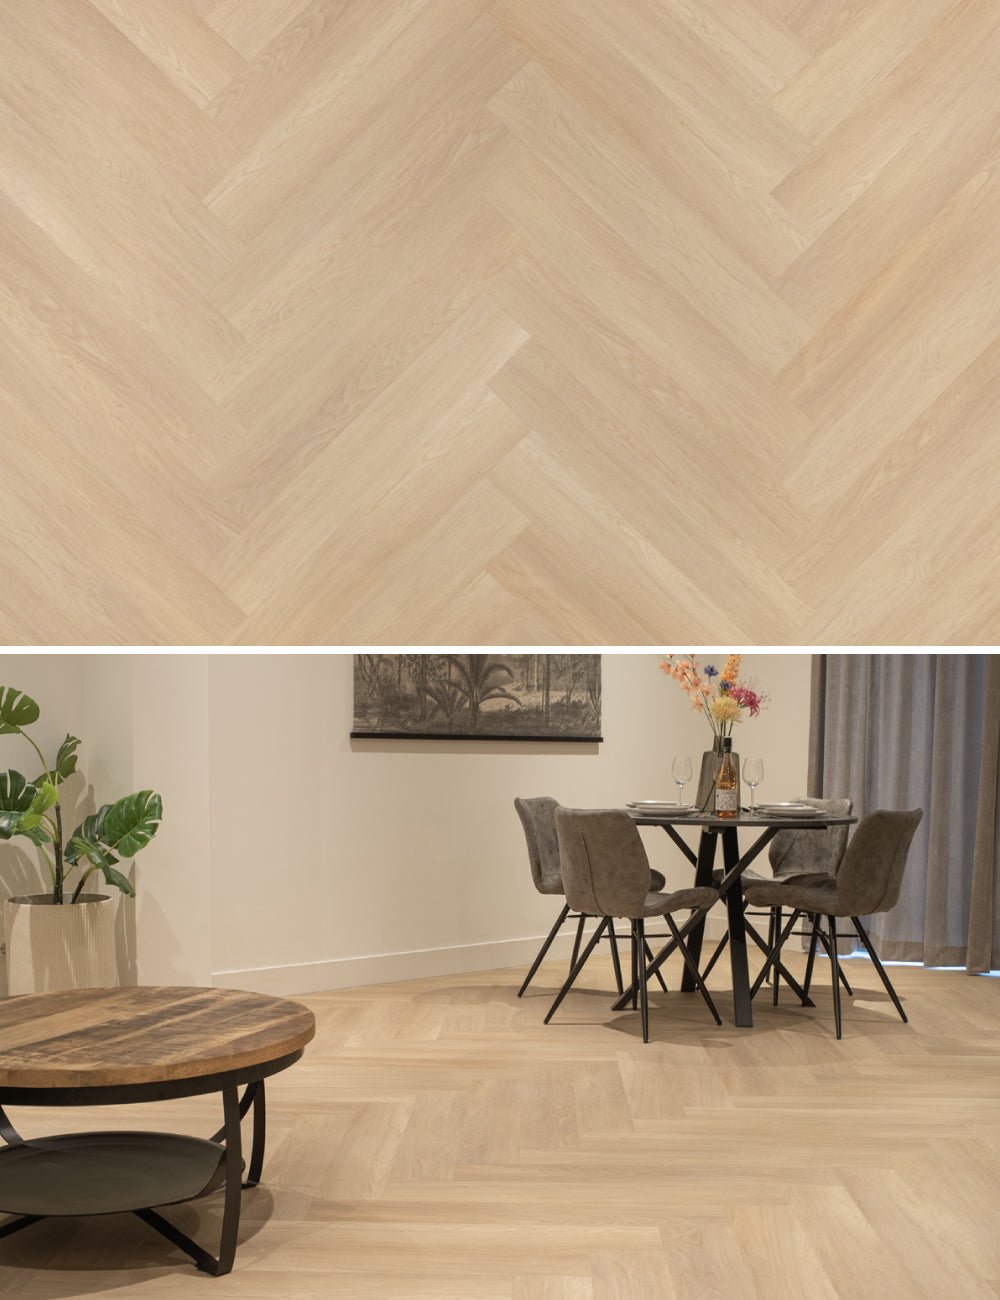
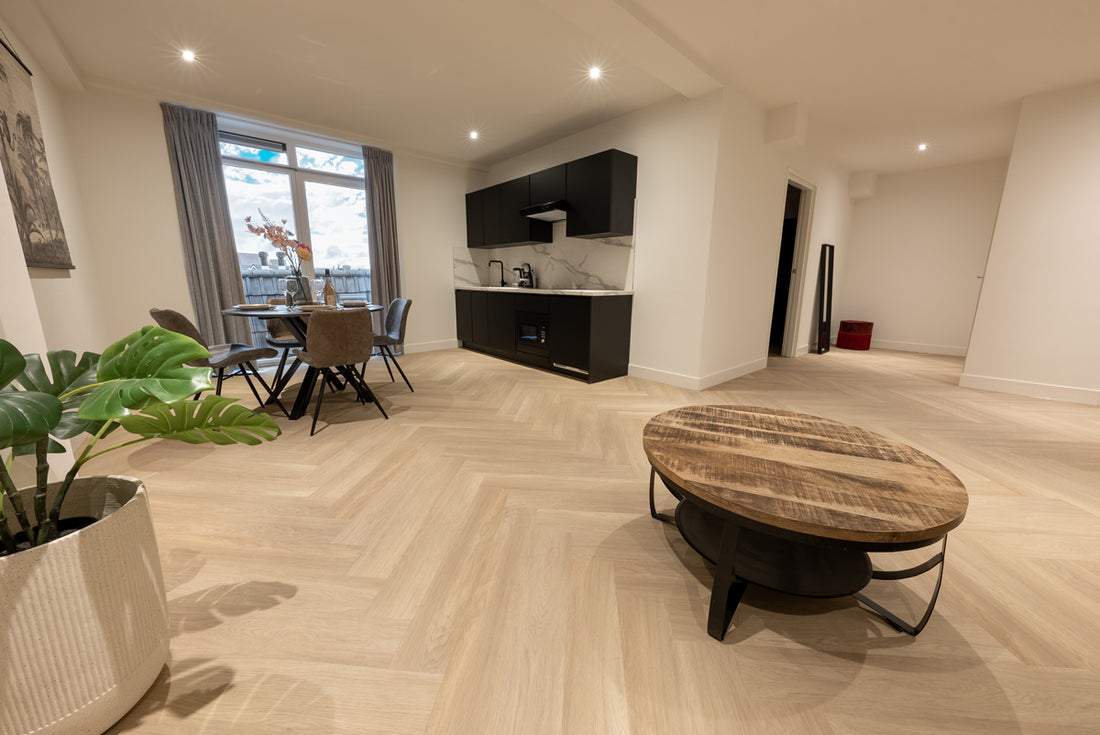
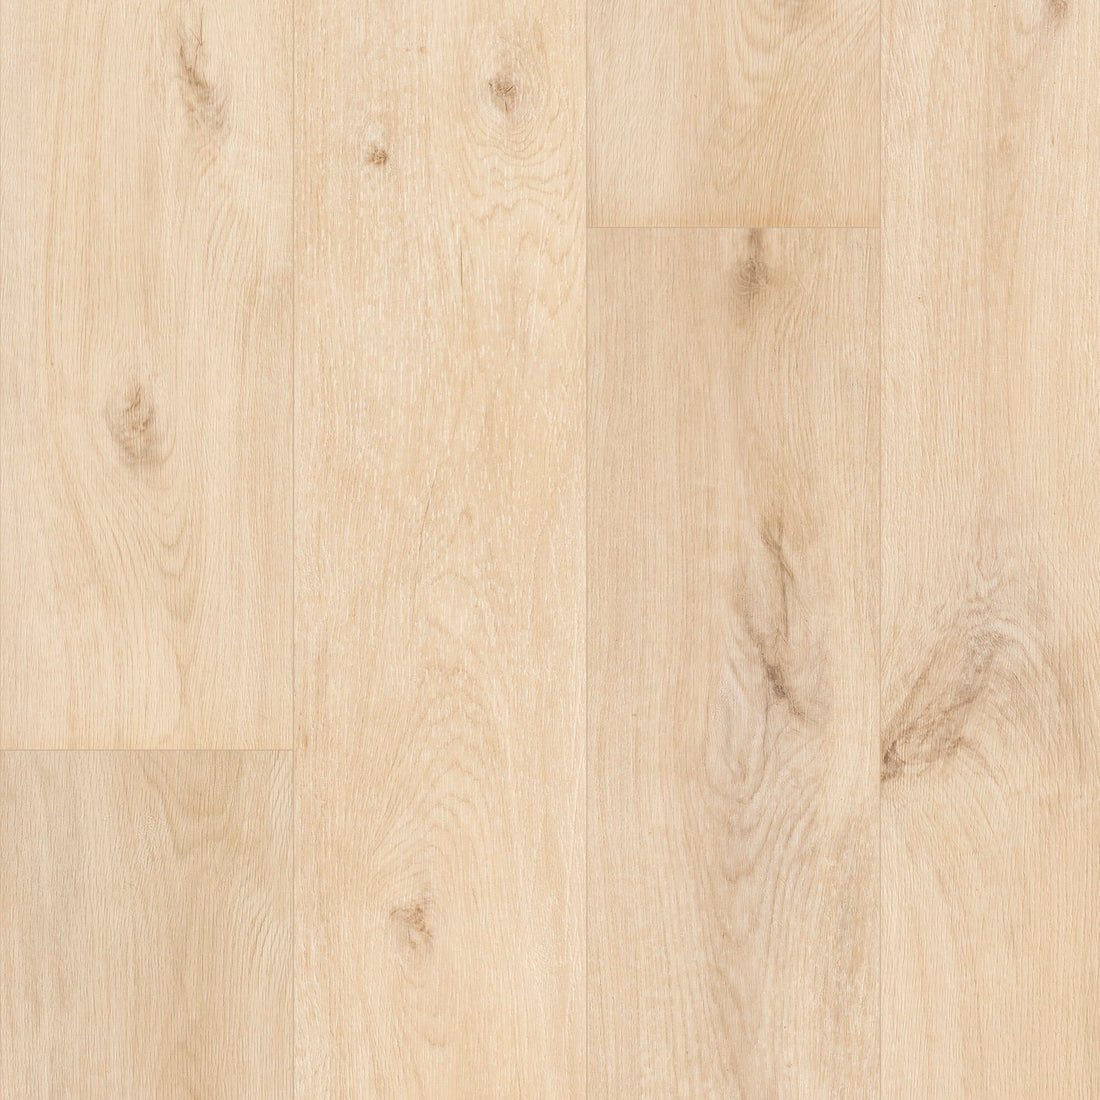
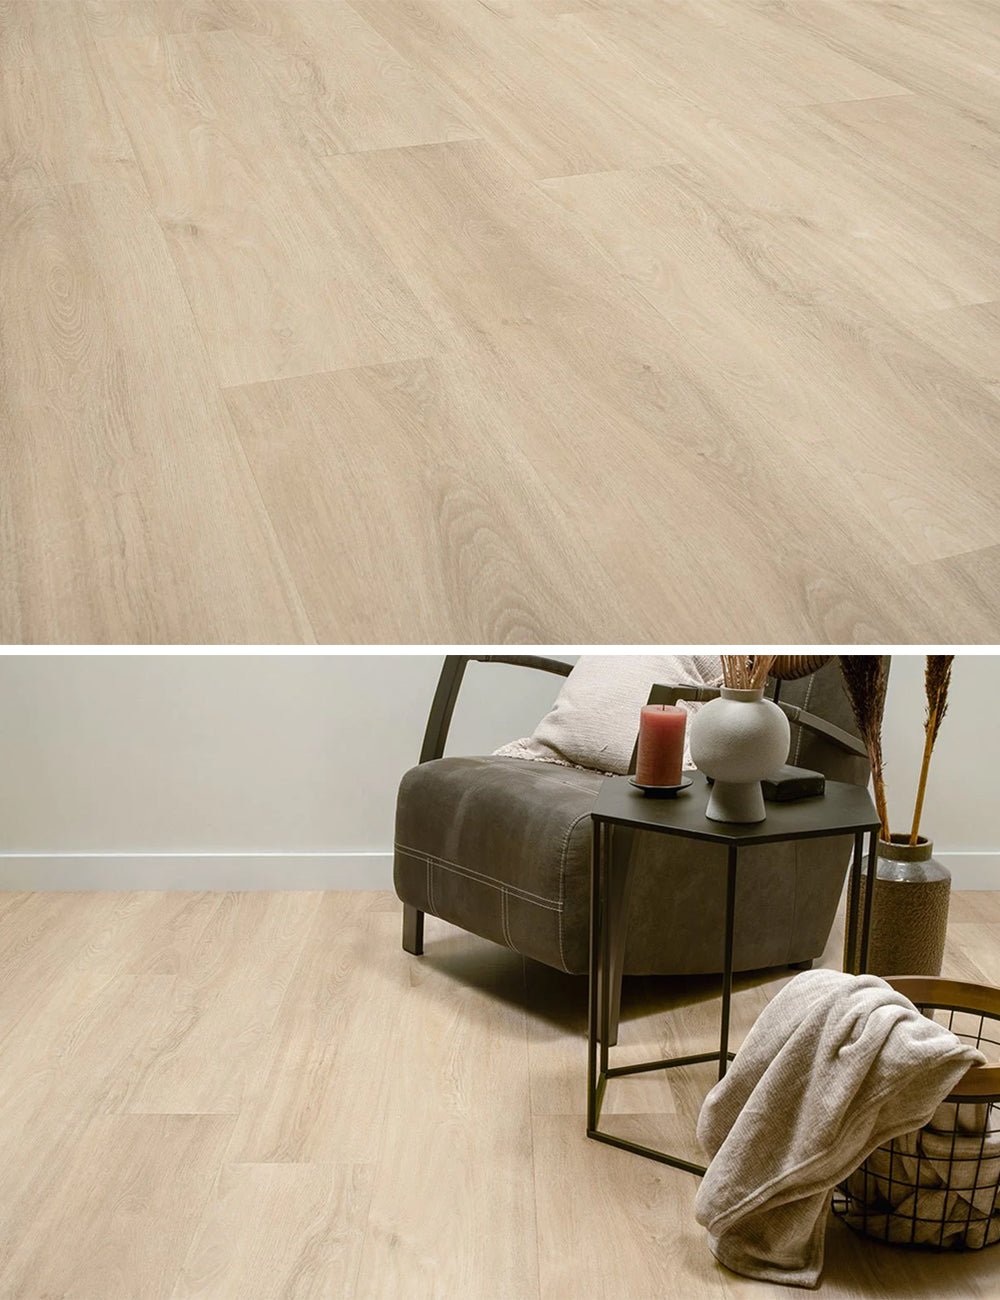
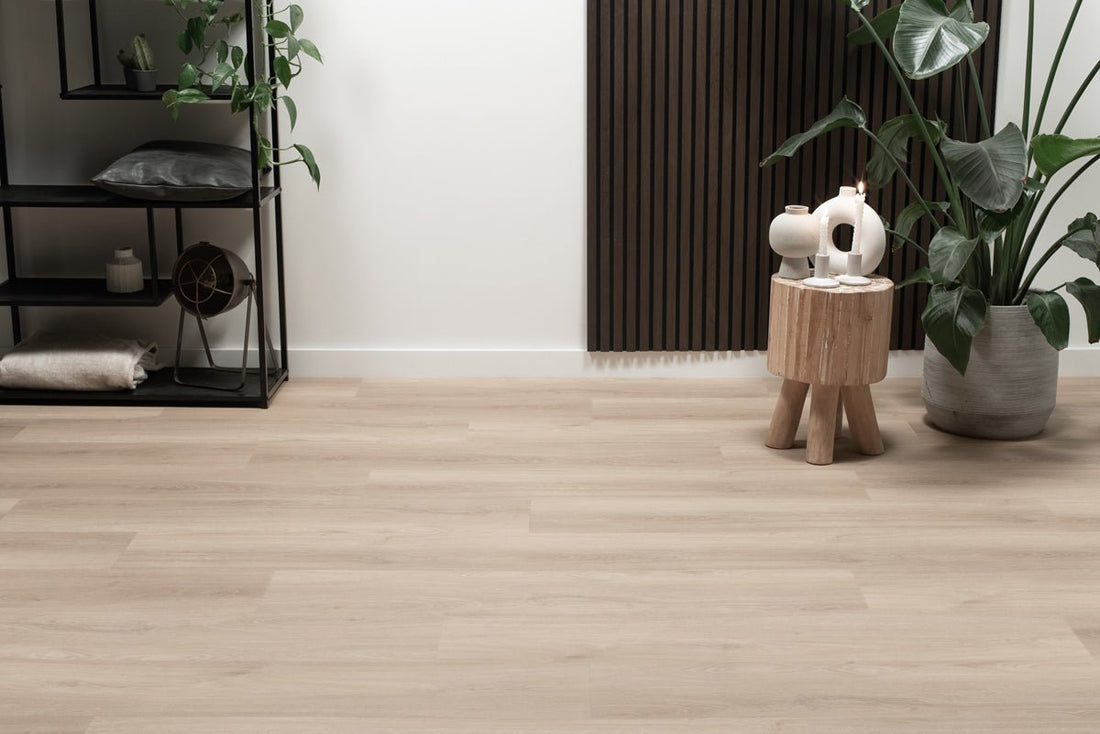
For a while, a new floor has been added to the range. This is the Whalebone laminate . You need to lay this laminate in a special way. Which way is that exactly? In this blog we are going to explain to you step by step how To lay whalebone laminate So that you will soon be completely Can lay a whalebone laminate floor yourself .
Step 1-Making floorboards acclimatize
Before you start laying the floorboards, it is very important to get them used to the temperature of the room in which they are going to be laid. This is what they call acclimatizing. You make sure that the shelves get the time to get used to the climate that is going on in your house. The advice is to do this for at least 48 hours. To do this properly, make sure that the shelves are in a hashtag on top of each other in the room where you will eventually lay the floor. Make sure that the heating and the temperature in the house are adjusted as you normally live in the house, as realistic as possible.
Read more about acclimatizing laminate here.

Step 2-levelling the floor when it is necessary
It is useful to take a close look at whether it is necessary to level the surface. In most cases this is not necessary, but your floor does not look even and has a lot of butts and holes, then it is wise to do so. It also depends on which Subfloor You're going to use. If it concerns glue or paint residues, you can easily remove them with a putty knife. The fewer bumps there are, the better your floor on your floor and the more capacity your floor can also have.
Step 3-Shopping list complete? You can start!
You know what they say about good preparation, right? So make sure that your shopping list what you have made for your floor is also complete. It is not convenient when you are busy and you have to go and get a thing or two. You will need the following articles when you are going to lay a whalebone laminate:
- Sign-off tools
- What spacers
- A box cutter
- An attack block of Teflon
- A rubber hammer
- A jigsaw
- A crosscut saw
- A well-suited Laminate subfloor
- A vacuum cleaner

Step 4-Make your surface dirty and dust free
We advise you to properly vacuum the space where you are going to lay the floor. This is the best way to make your surface dirty and dust free. Can you happen to use an industrial vacuum cleaner? That would be totally top! These generally have a bit more suction than a normal vacuum cleaner has.
Step 5-Placing the subfloor
If you have made the surface dirty and dust free, it is now time to place the subfloor. One Subfloor Is important to use, otherwise your floor will not stay in place. This will cause damage to the boards and you do not want that. Also ensures a Subfloor sure that the contact sound Is reduced. The subfloor also protects against moisture. A good subfloor is therefore actually necessary.

Step 6 - Starters Make Points
If you are going to lay a whalebone laminate floor, the so-called starter point is used at all times. This starting point is supplied by default with the purchase of a Whalebone floor . It makes it a lot easier for you. Once you have a starter point, you can then easily make a number yourself. You use a total of six whalebone boards for this. The XL herringbone floor Has no right and left shelves. It does not matter with this floor what the order of the boards is. When laying a Herringbone laminate floor This is not the same thing. You do use right and left floor boards here. You should always take into account that the long side of the floorboards is facing forward.
Step 7-Start Laying
Start by putting the spacers in the right place. You can now start laying the floor. Takes into account the pattern! Once you are on the road, it will largely go by itself and you will find that you will be ready in no time!


